In this post, I’ll describe how to install both PhoneGap and the Ripple extension for Chrome and then fire up a “Hello, World” app. As mentioned in an earlier post, there are two versions of PhoneGap, PhoneGap Desktop (GUI) and PhoneGap CLI (command line). Here, I’ll be installing Desktop. First, it’s easier to use and second, from reading the documentation, I get the sense it’s where Adobe will be putting its future efforts.
PhoneGap Desktop can be downloaded from here. Both the Windows and Mac versions use an installer, so the installation is self-explanatory. I selected the Mac version (version 0.4.3 as of this post).
The next step is to add the Ripple Emulator to your Chrome browser. Navigate to here and click the blue “Add to Chrome” button.
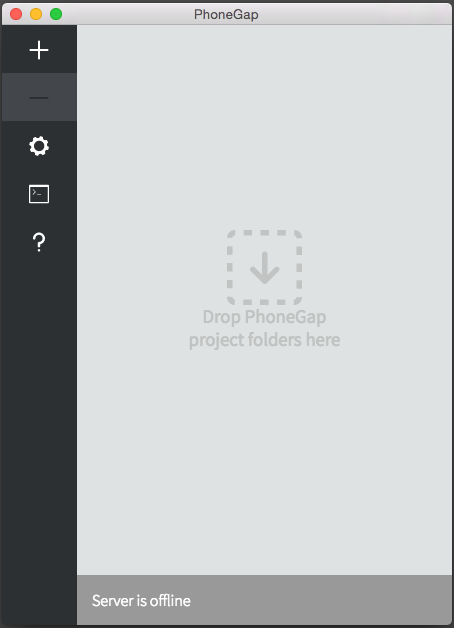
Now we’re set to build the “Hello, World” application. Start up PhoneGap. You will get a window that looks like this:
Click the large plus (+) sign in the upper-left, click “Create new PhoneGap project…” from the menu, select the Hello World radio button from the next menu and click the green “Next” button on the lower-right. You should now have a window that looks like this:
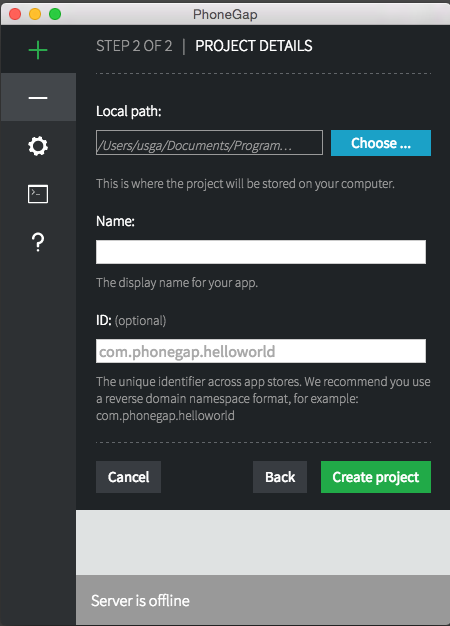
Click the blue “Choose” button to navigate to the folder where you want to save the project files that will comprise your app. Enter the name of your app – in this case “Hello World!”. Lastly, you can enter an ID, which is a unique identifier to be used by the app stores.
Caution: it is here where I ran into trouble. Using their suggestion, I used a reverse domain – com.bill-lacey.helloworld. A cryptic error message! “Project create failed with code 1”.
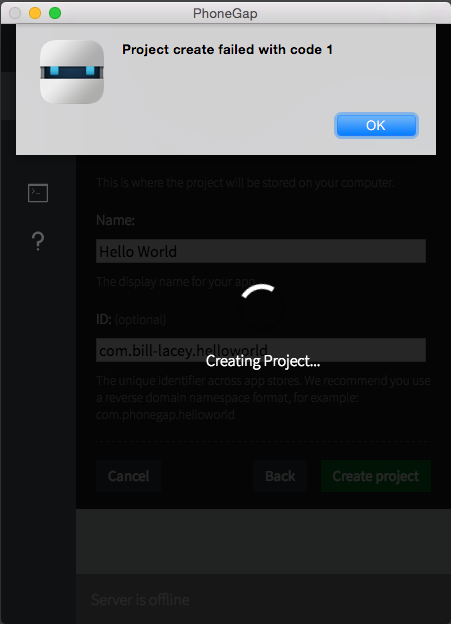
Googling the error turned up nothing that worked, so I began the trial-and-error process of changing things in each of the 3 dialog boxes. The solution turned out to be that dashes in the ID are not allowed. Once I changed the ID to com.blacey.helloworld the project was created.
Once successful, PhoneGap returns a server that is hosting the application.
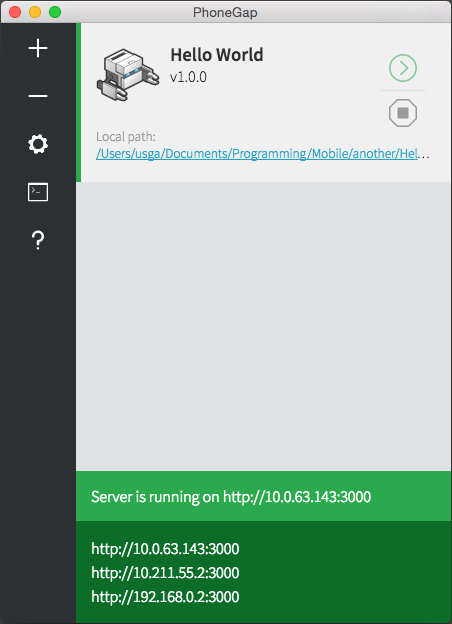
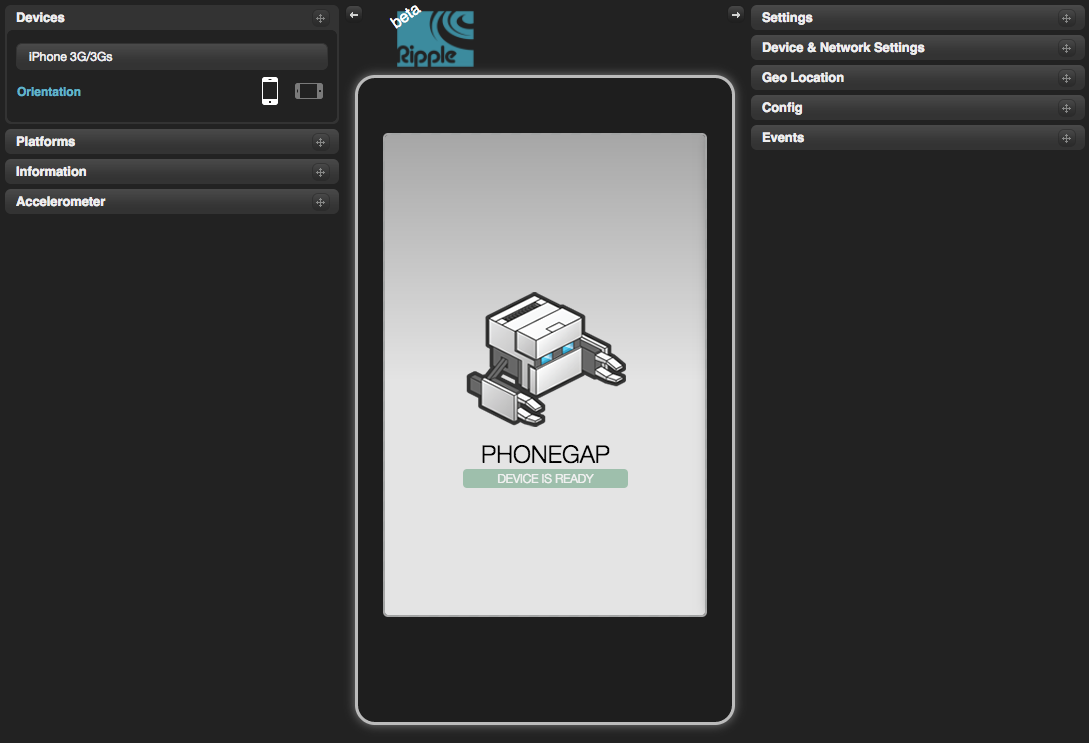
The final step is to test the application with the Ripple extension in Chrome. Simply click on the IP address in the bright green bar where it says “Server is running on http://xxx.xxx.xxx.xxx:3000 (where the xxx’s are your server’s IP address). Assuming Chrome is your default browser, a tab will open in Chrome with the IP of the app. Click on the Ripple extension icon in the upper right and select “Enable”. You can now view the app in the Ripple Emulator.
That’s it! In a future PhoneGap post, I’ll go over creating a more robust PhoneGap app in Dreamweaver CC.